Hexo file name escape issue and solution

I’m working on reorganize posts today, and found some filename issue with Hexo.

Speical symbols are not escaped properly

Just found this issue today.

To ensure filename generate from title is legal as either file name or url path, Hexo uses hexo.util.escape.filename to escape the illegal symbols. filename does escape some symbols, but it doesn’t cover all illegal symbols, such as +, =, &, etc. If these symbols are not escaped properly, which generates illegal url link. As a result, your post will never be acessible.

I found this issue is because, I have a post with +3 trainer in its title, since + is not escaped, and + will be treated as space by http. As a consequence, my post will never be able to open, unless I escape + as %2B. To avoid this kind of problem, I wish all the symbols in post name are escaped as -.

Besides this issue, Hexo has another issue with name escaping that the escaped file name might contains continues -. For example, your post title is “A great introduction - part 1”, you will get escaped name a-great-introduction---part-1.md. I wish the continues - in the file name should be replaced with single -, name a-great-introduction-part-1.md is more readable than previous one.

To fix the 2 issues, I just created a pull request, hope it will be merged soon.

I cared about this issue so much is because I uses hexo-consle-rename plug-in, which also uses util.escape to handle file name. To keep naming consistency when between different version of Hexo, I addd a kind of evil monkey patch in the v0.1.2. So make sure the plug in can work properly even with old Hexo.

File name case issue

Besides the Hexo naming issue, I also met the case of the filename today. Although it depends on the blog hosting, but it might cause 404 if the file name case changed.

To avoid this kind of issue, I strongly recommend to set filename_case: 1 in _config.yml, which will make sure all file name are in lower case.

There is common pitfall here for Windows or Mac with case-insensitive file system. If you have deploy the website once with wrong filename casing. Regenerate after updated filename_case won’t help, because file system won’t treat case change in filename as “change”. So you cannot really commit the “change” to fix the 404 issue.

To fix this issue, there is easy and efficient trick. Go to .deploy folder, execute following commands:

1
2
3
4
$ git rm -rf *
$ git ci -m "Clean all file"
$ hexo clean
$ hexo d -g

To force clean the repo once enforce git to treat 2 files with same name but different casing as different ones. So the name casing issue can be fixed.

Atom Editor Background Image

Today spent some time to customize Atom user stylesheet to display the background image for editor.
Background image is a feature that I expected so much in either TextMate or Sublime.
Now finally I have it in Atom.

Finding the class for each html component is a little bit tricky
My theme is seti-ui.

Stylesheet to display background image

1
2
3
4
5
6
7
8
9
10
11
12
13
14
15
16
17
18
19
20
21
22
23
24
25
26
27
28
29
30
31
//.react is needed to avoid impact on mini-editor
.editor.react {
// Fix the color strip between gutter and the editing area.
background: #0e1112;
.scroll-view {
// Align the Background Image with Editing Area
padding-left: 0;
margin-left: 10px;
// I put the background image under ~/.atom/images
background: url('/Users/timnew/.atom/images/batou.jpg') no-repeat fixed;
// Stretch the image
// I tried to set it in with other background properties,
// but it doesn't work. Looks like a bug in Chrome.
background-size: cover;
}
.cursor-line {
// Set cursor-line semi-transparent to make background visible.
// Adjust the alpha value to fit your taste.
background: rgba(90,90,90,.4) !important;
}
.overlayer {
// Set overlayer semi-transparent to make background visible.
// Adjust the alpha value to fit your taste.
background-color: rgba(21, 23, 24, .7) !important;
}
}

Screenshots

Without TreeView

Without Tree View

With TreeView

With Tree View

Atom Editor

Atom is general purpose text editor brought to us by GitHub guys, which is empowered by the loved Node.js and Chrome.

Someone said Atom is just another clone of Sublime. Well, I don’t quite agree with the saying. I’d like to say Atom learnt a lot from Sublime.
And I’d like to explain why.

I think Sublime itself is a great text editor, powerful to use, easy to learn, ready to be hacked, matured community, tons of plug-ins… almost unlimited possibilities…

But on the other hand, I think, Sublime is too sticky to “Text”. Yes, it is a text editor, but it doesn’t mean everything in the editor could only be text-based.
Implementing custom UI in Sublime isn’t a easy job to do. Benefits from HTML based technologies, Atom has a lot more rich features, CSS3 effects, CSS3 Animations, SVG, and a lot more…

Along with Brackets, C9, Atom is the important candidates of next-gen editors. But among them, only Atom is a general purpose editor.

Since Atom is still in the eary stage, there are a number of flaws and issues in it. Besides these bugs, the biggest problem of Atom is performance.
Loading a several MB text file or thousands pages document will kill the editor in no time. (Atom blocks user to load file larger than 2MB.)

But still, these issues won’t block me from loving it. As a node.js and Ruby developer, it is an awesome companion to my work. ❤️

Migrate Blog to Hexo

This post is a celebration for the migration from Octopress to Hexo

Octopress has done an excellent job on filling the gap between jekyll and full function repo based blog engine. But because of the tech stack it is based on. It isn’t really a awesome framework to use.

The first time I got pissed off by Octopress was by the end of 2012. Then I come up the idea to rewrite it in Node.js. But I wasn’t able to make it happen, because I was held by the new project assignment, and didn’t have too many spare time on the blog engine.

To save effort, I began to customize Octopress by rewriting some code in Octopress and Jekyll, which started the long march of Octopress customization.

I did a number of customization on Octopress, from erb template to Jekyll generators, from Rake script to TextMate bundles.

Before I switch to Sublime, I uses TextMate for quite long time. So I customized the Rake script and TextMate bundle, which enables me to invoke almost every rake command in TextMate with hotkey. I can even rename the blog post file name according to the title in front-matter without leaving TextMate. Besides the functionality, I also customized the templates and the widgets a lot to get better visual effects and reading experience.

I’ve benefited from these customization a lot. On the other hand, these deep customization blocks me from migrating to Hexo, a better alternative. Even I have found Hexo in the early 2013, and believe it is a better blog platform. But it is really costy for me to migrate the blogs away from the Octopress.

Luckily, after years development, a bunch of tools and libraries came up, which has minimized the gap between Octopress and Hexo.
After several days effort, finally retired the Octoress engine, and completed the journey of moving from Octopress to Hexo.

Create shortcut for your project Mingle with Alfred

A few days ago, I post a blog(Create shortcut for your project Mingle with Chrome OmniBox) about that we can access specific Mingle story card directly from Chrome “OmniBox”. The shortcut is created by registering Mingle search as custom search in Chrome.

Today I found applying the same trick to launch apps, we can have one step further. In Mac OS, almost all the launcher apps support custom search, such as Aflred, QuickSilver, Launcher. Even in Windows, we also have Launchy. For Linux, I believe there should be similar stuff. So the trick is environment independent.

To add custom search query in different launch app is quite different, but should be straightforward.
I’ll take Alfred as example:

  1. Open Alfred Preference

    Alfred Preferences
  2. Register Mingle as custom search

    Alfred Preferences

The url for custom search can be get with the same approach described in previous post. Alfred uses {query} as placeholder, so you should replace the %s with {query} when coping the url from chrome to Alfred.

Create shortcut for your project Mingle with Chrome OmniBox

Mingle is a common choice of story wall management system in ThoughtWorks internal projects.

Mingle uses rest style url to identify card or entities in the system, so the url contains the account id and project id in it.
Hosted Mingle is used in most project, to distinguish between accounts and projects, the url of the project mingle site is usually long, e.g., https://minglehosting.thoughtworks.com/telstra_de/projects/telstra_24x7_apps/. And other resources in the project, such as cards, whose url will be even longer.

When working in the team, open a specific card is a very common scenario, such as kicking off story, moving card, update story ACs, etc. To open a card, user usually need to open the project mingle home page, and use the search feature in the project. To open the home page, usually you need to save the url into your bookmark.

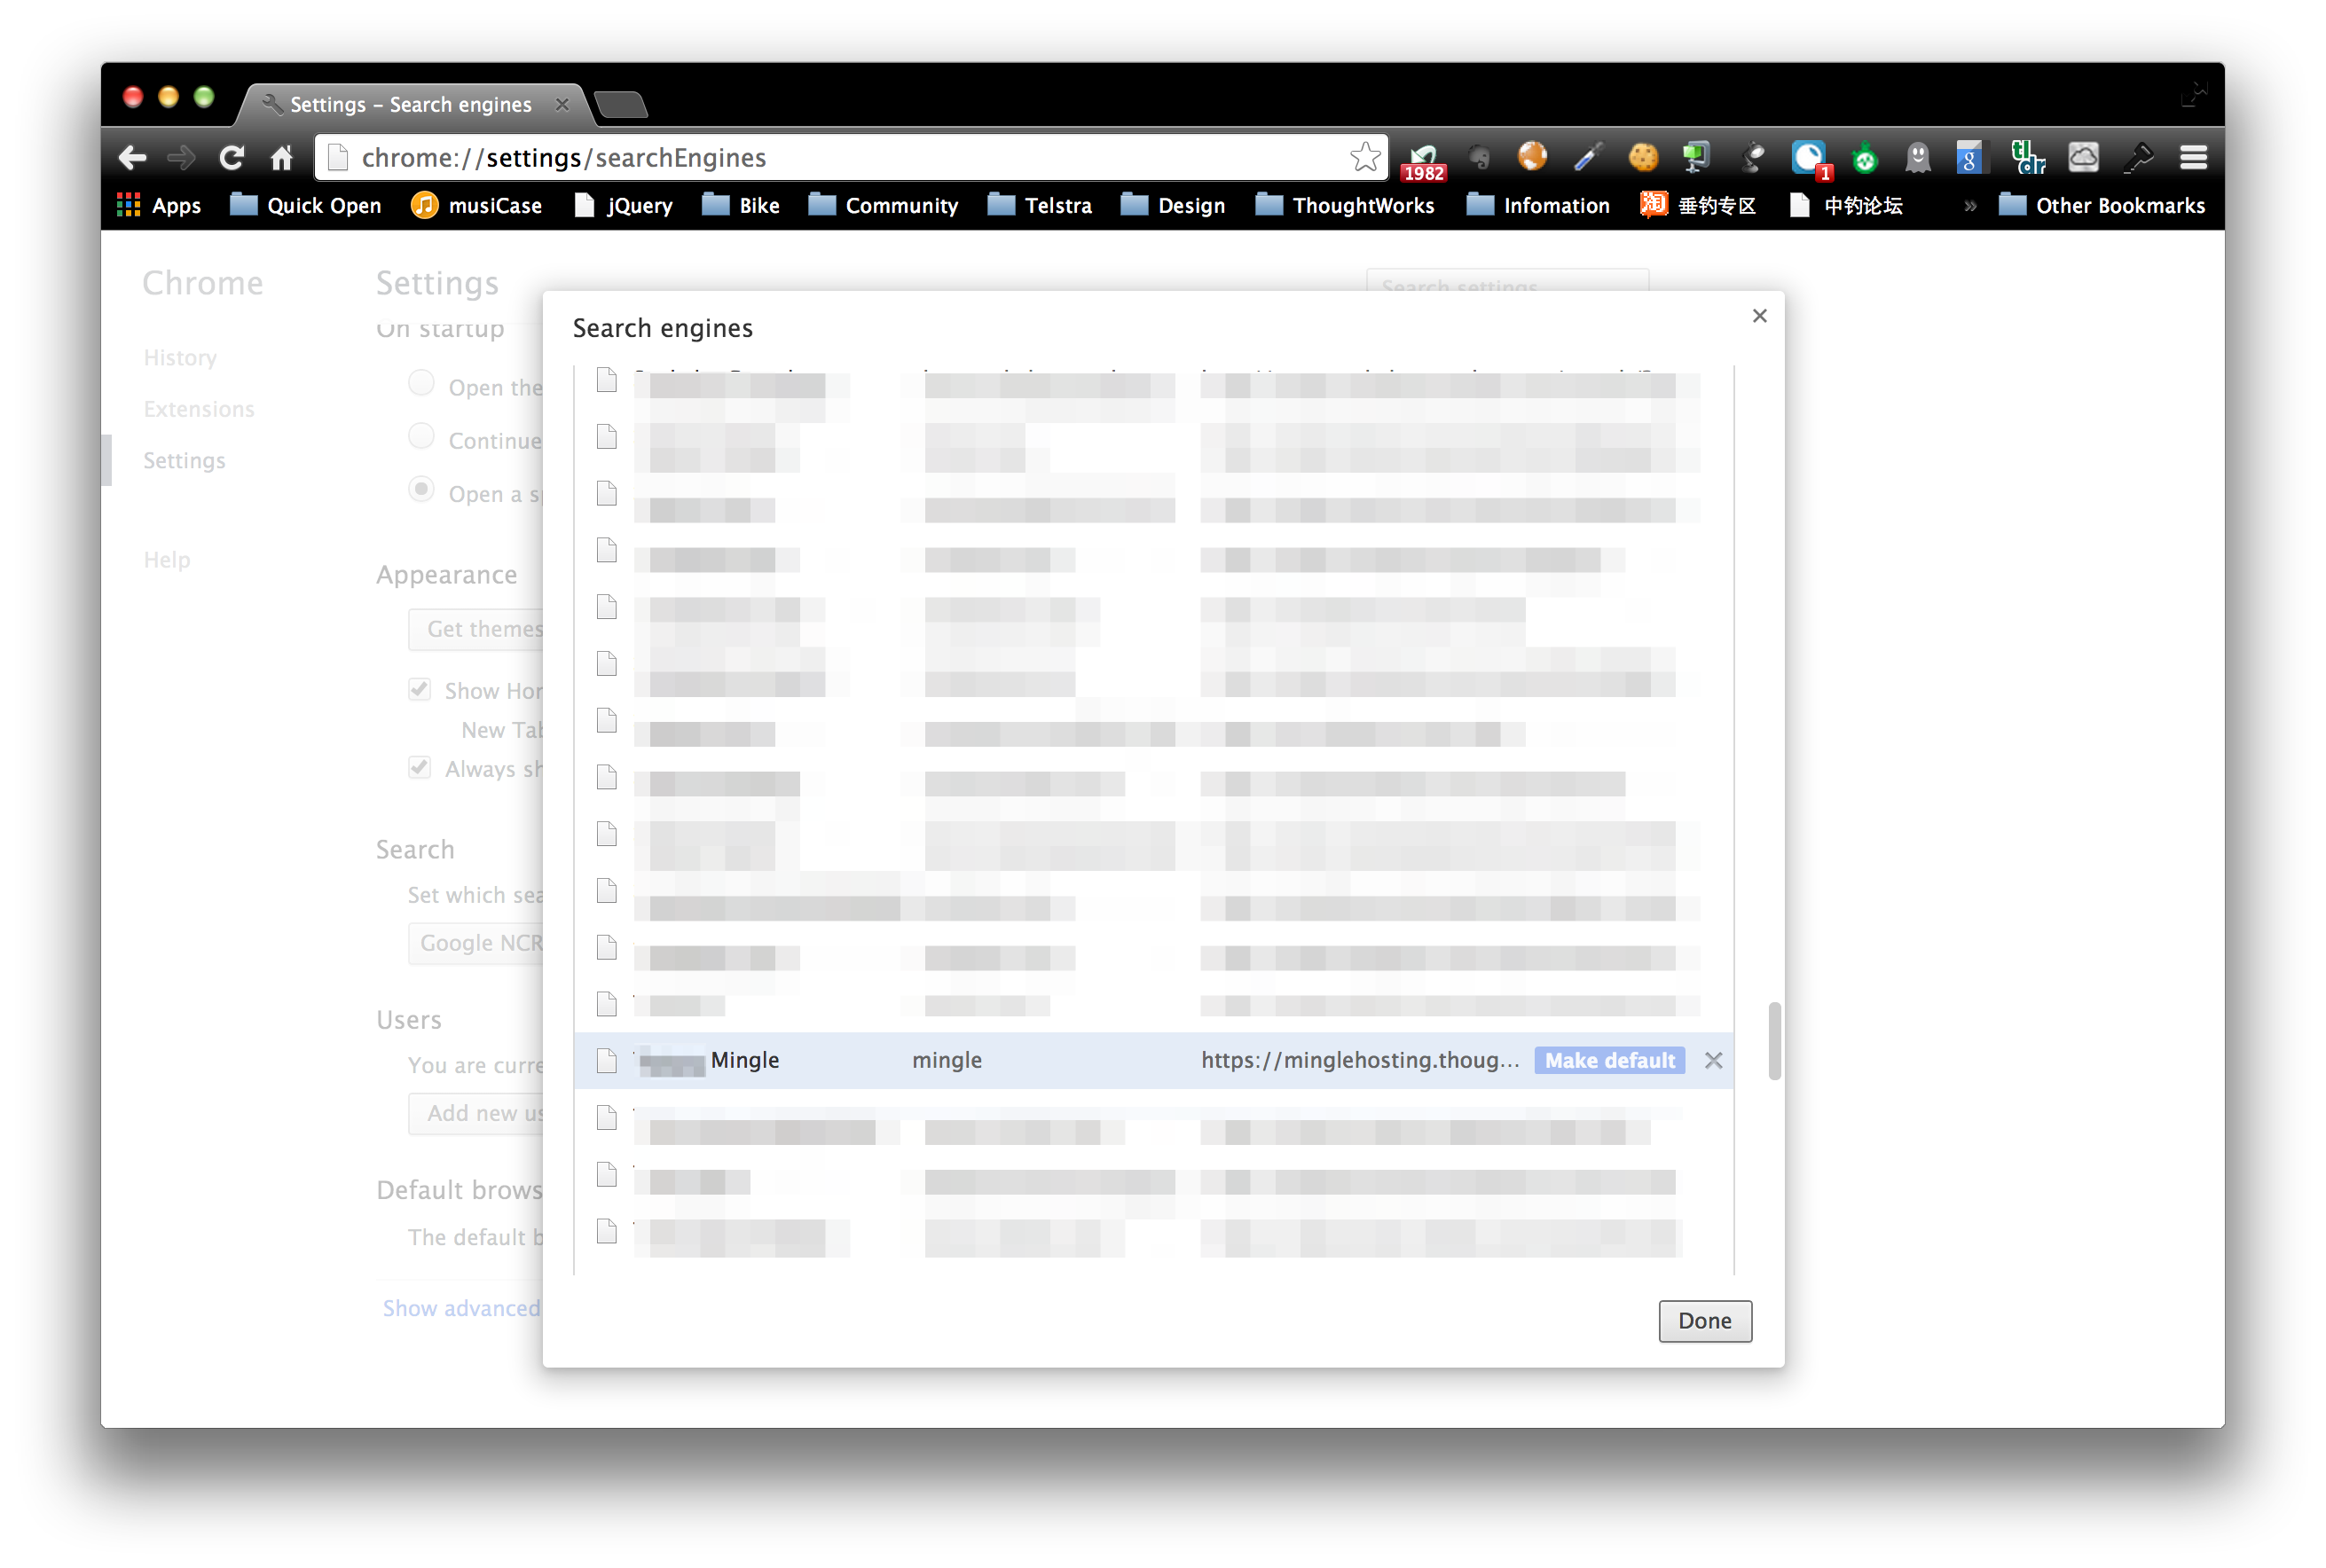
Today I found a better way to solve this issue, using the Chrome OmniBox! Chrome OmniBox is usually configured by Open Search Description. But it also allow user to manually add search engine configuration.

After the registration, we can use Mingle search direct from OmniBox, and we can open a specific card by typing “#card number”.

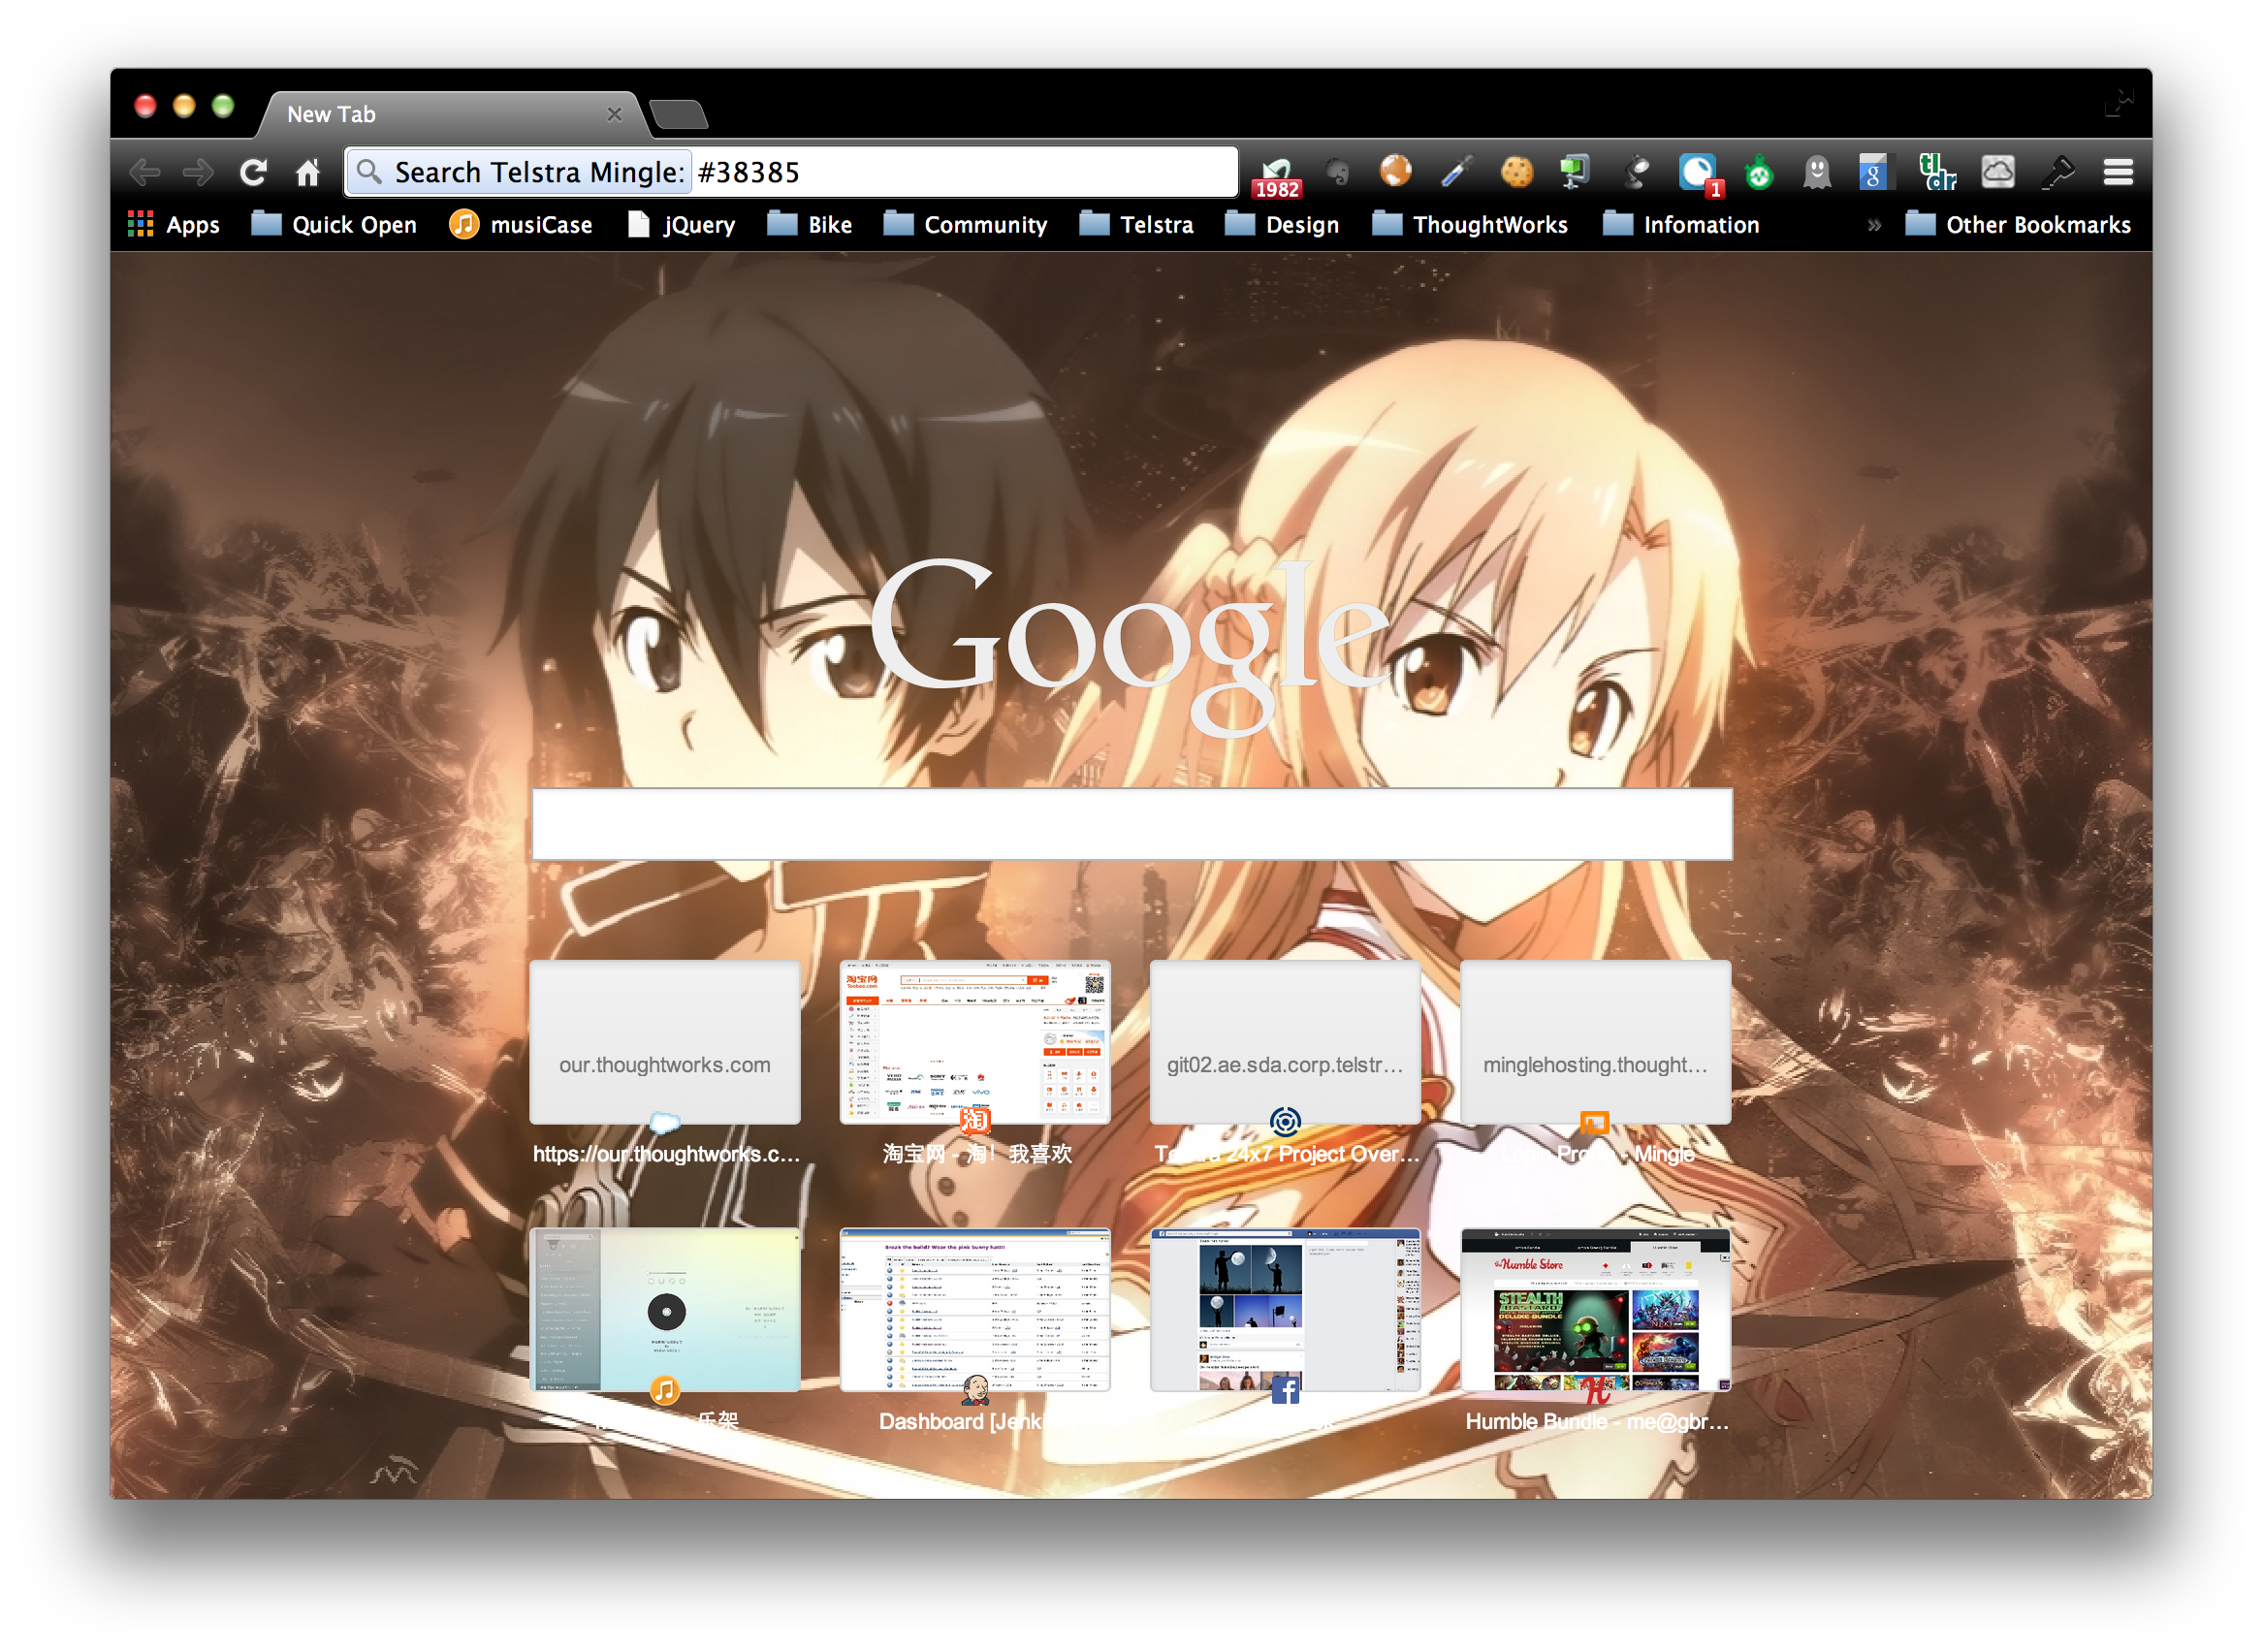
  1. Keyword Mingle in OmniBoxKeyword mingle in OmniBox
  2. Search in OmniBoxSearch in OmniBox
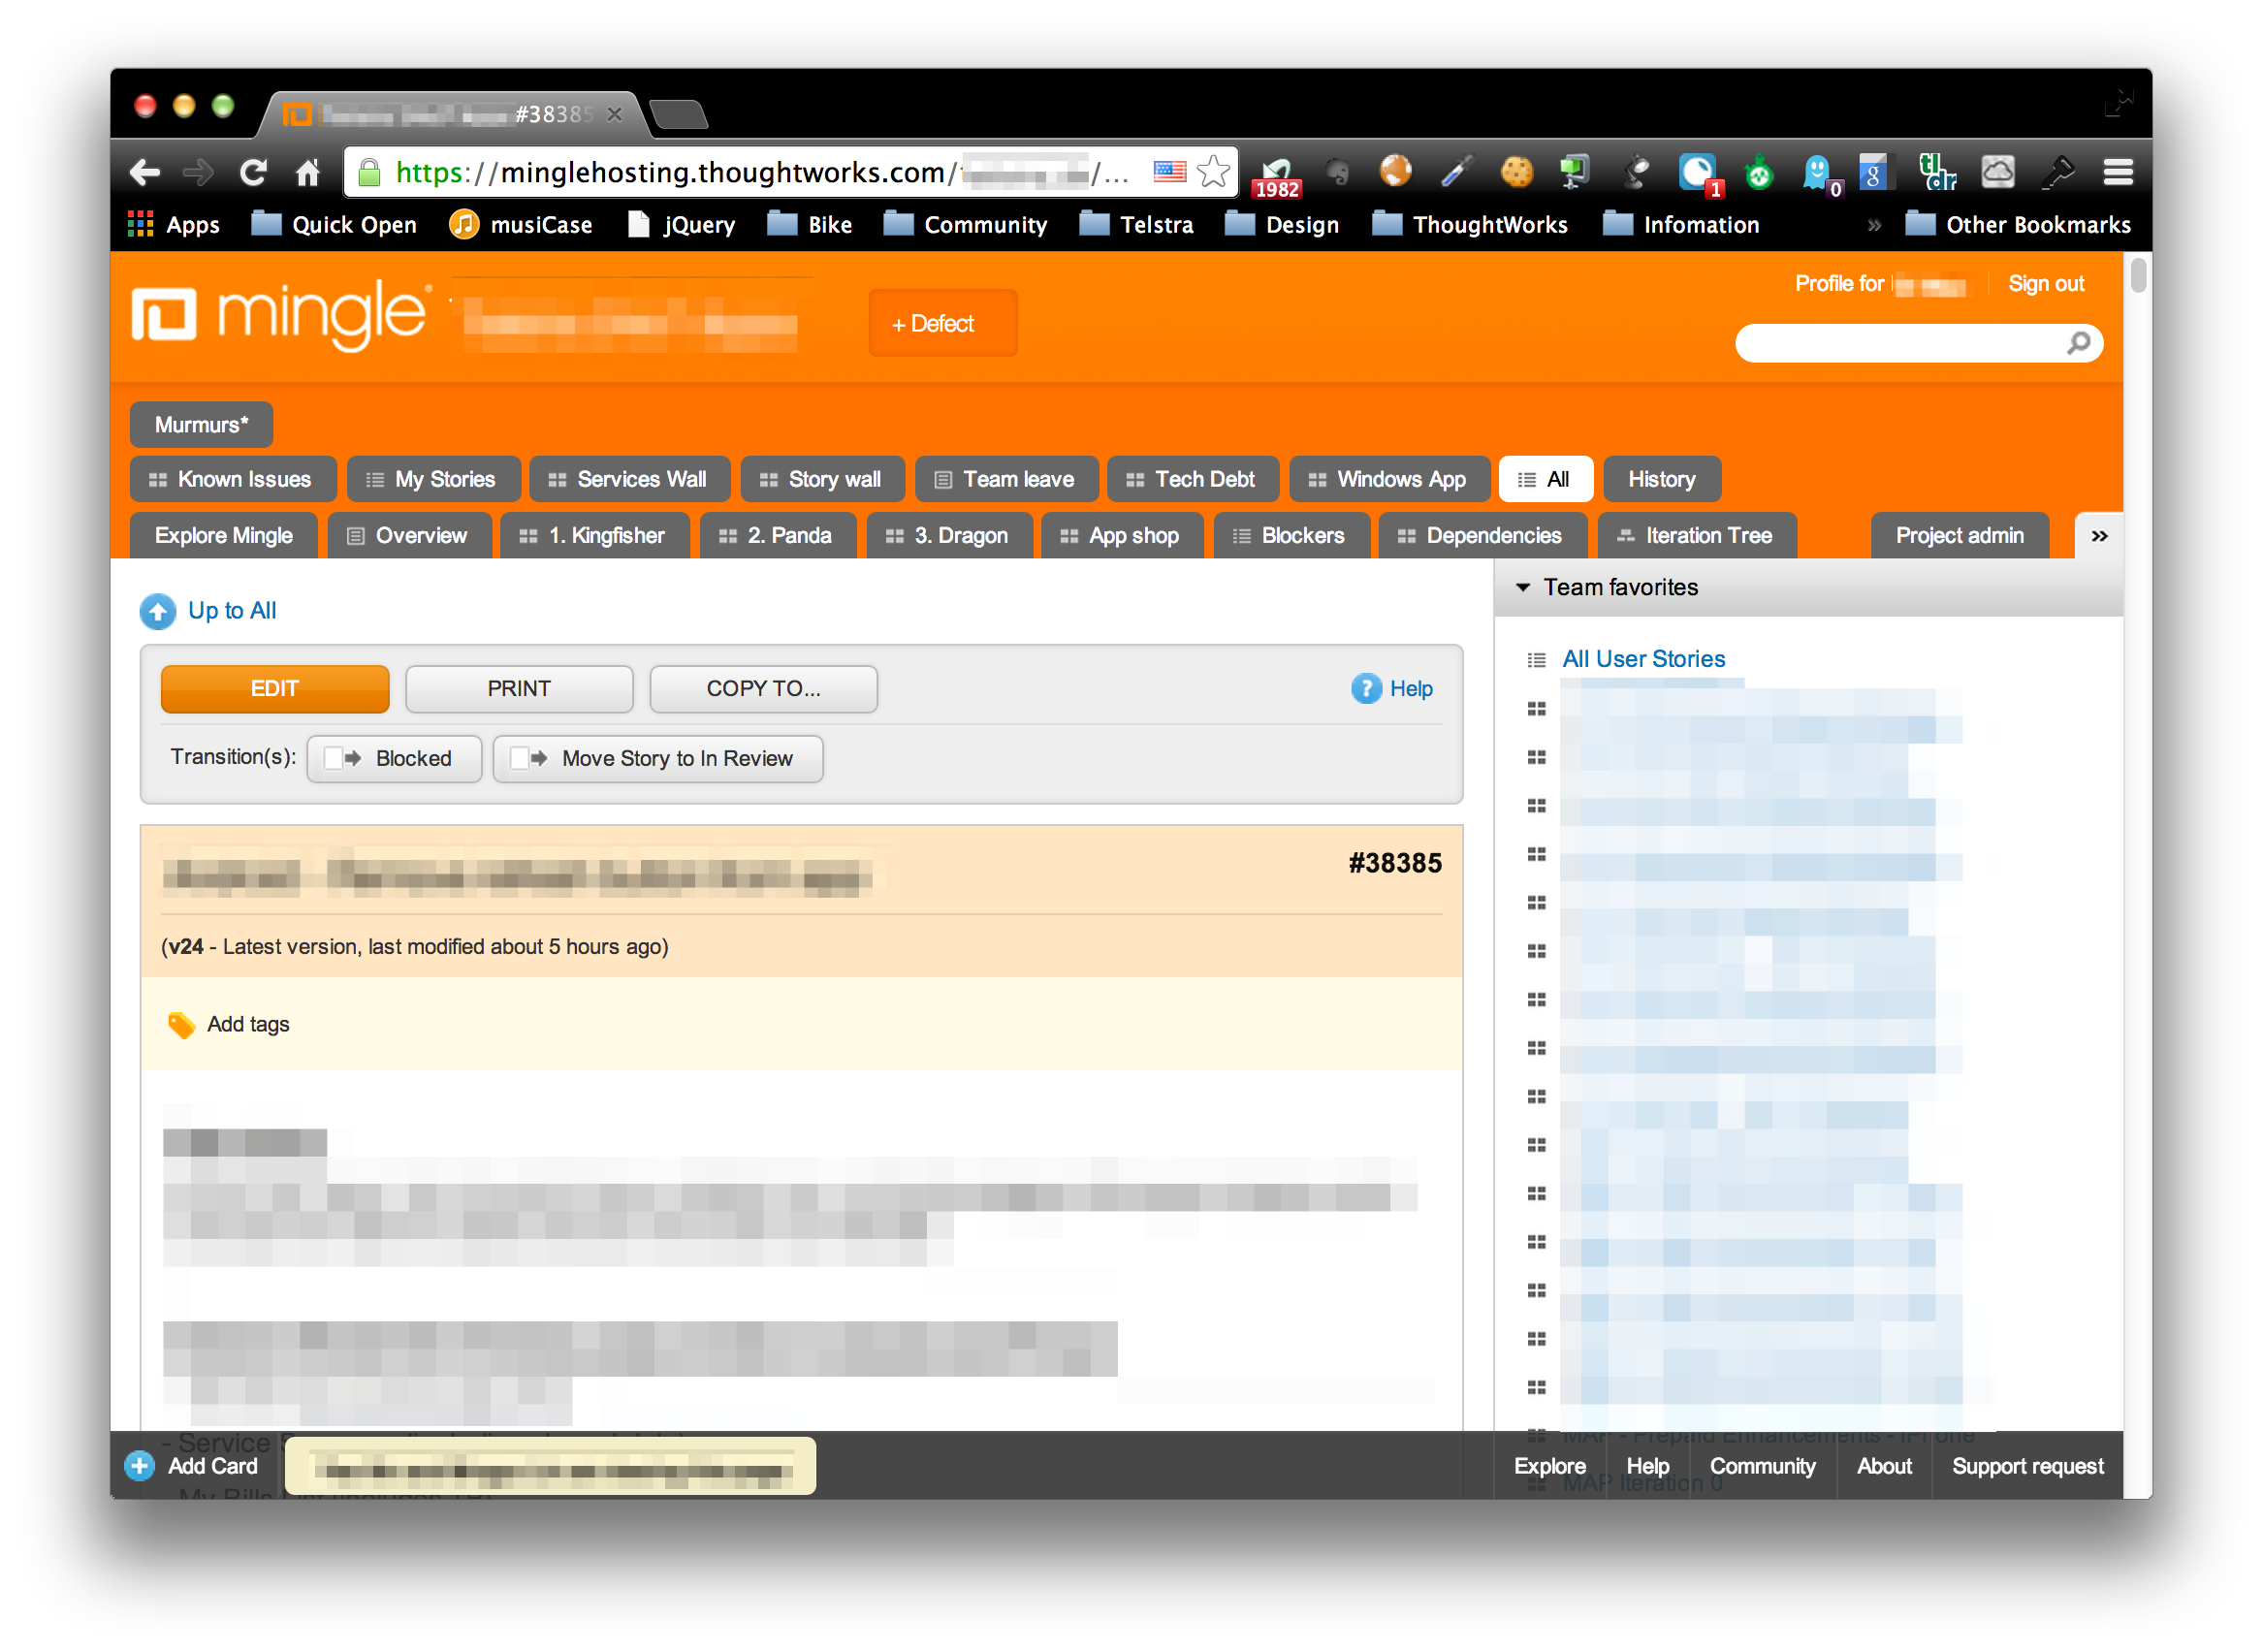
  3. Open the pageOpen the page

To register Mingle to Chrome OmniBox, you can use following approach:

Find out the Mingle search page url first:

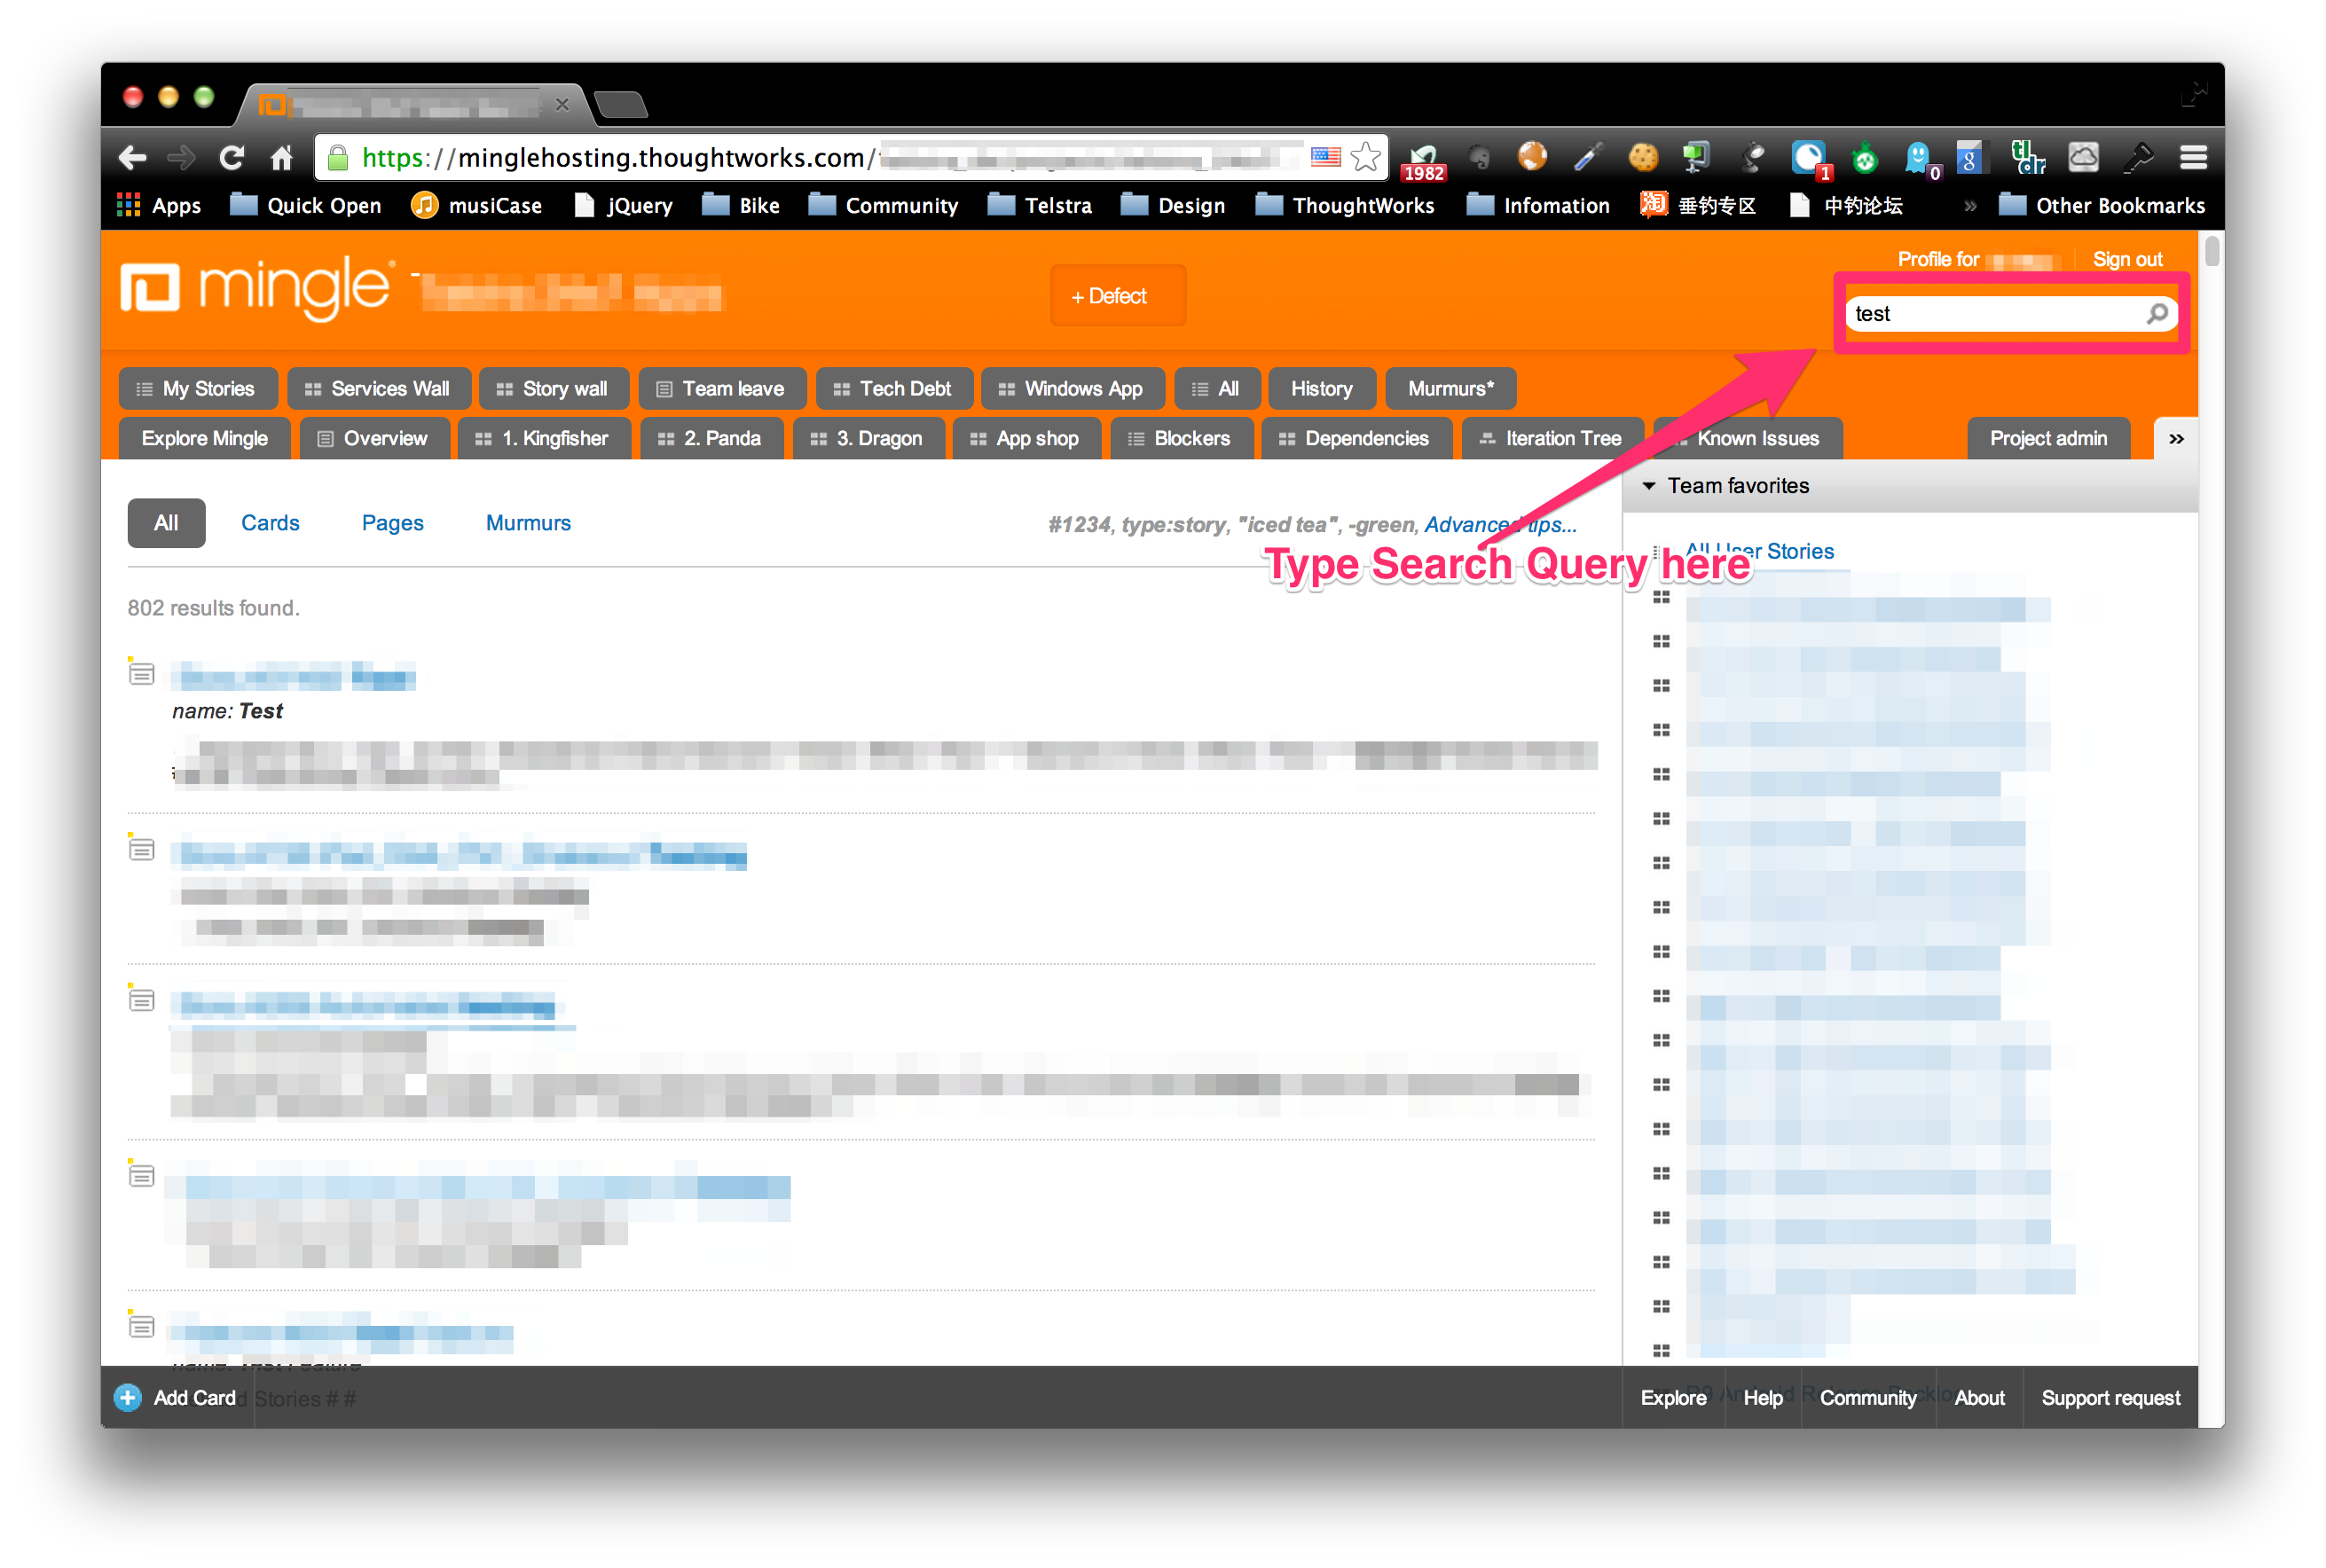
  1. Open Mingle project home page, type test in the Search Box. Press enter, copy the url, and replace word test with %s. That’s the search url.Find Search Url
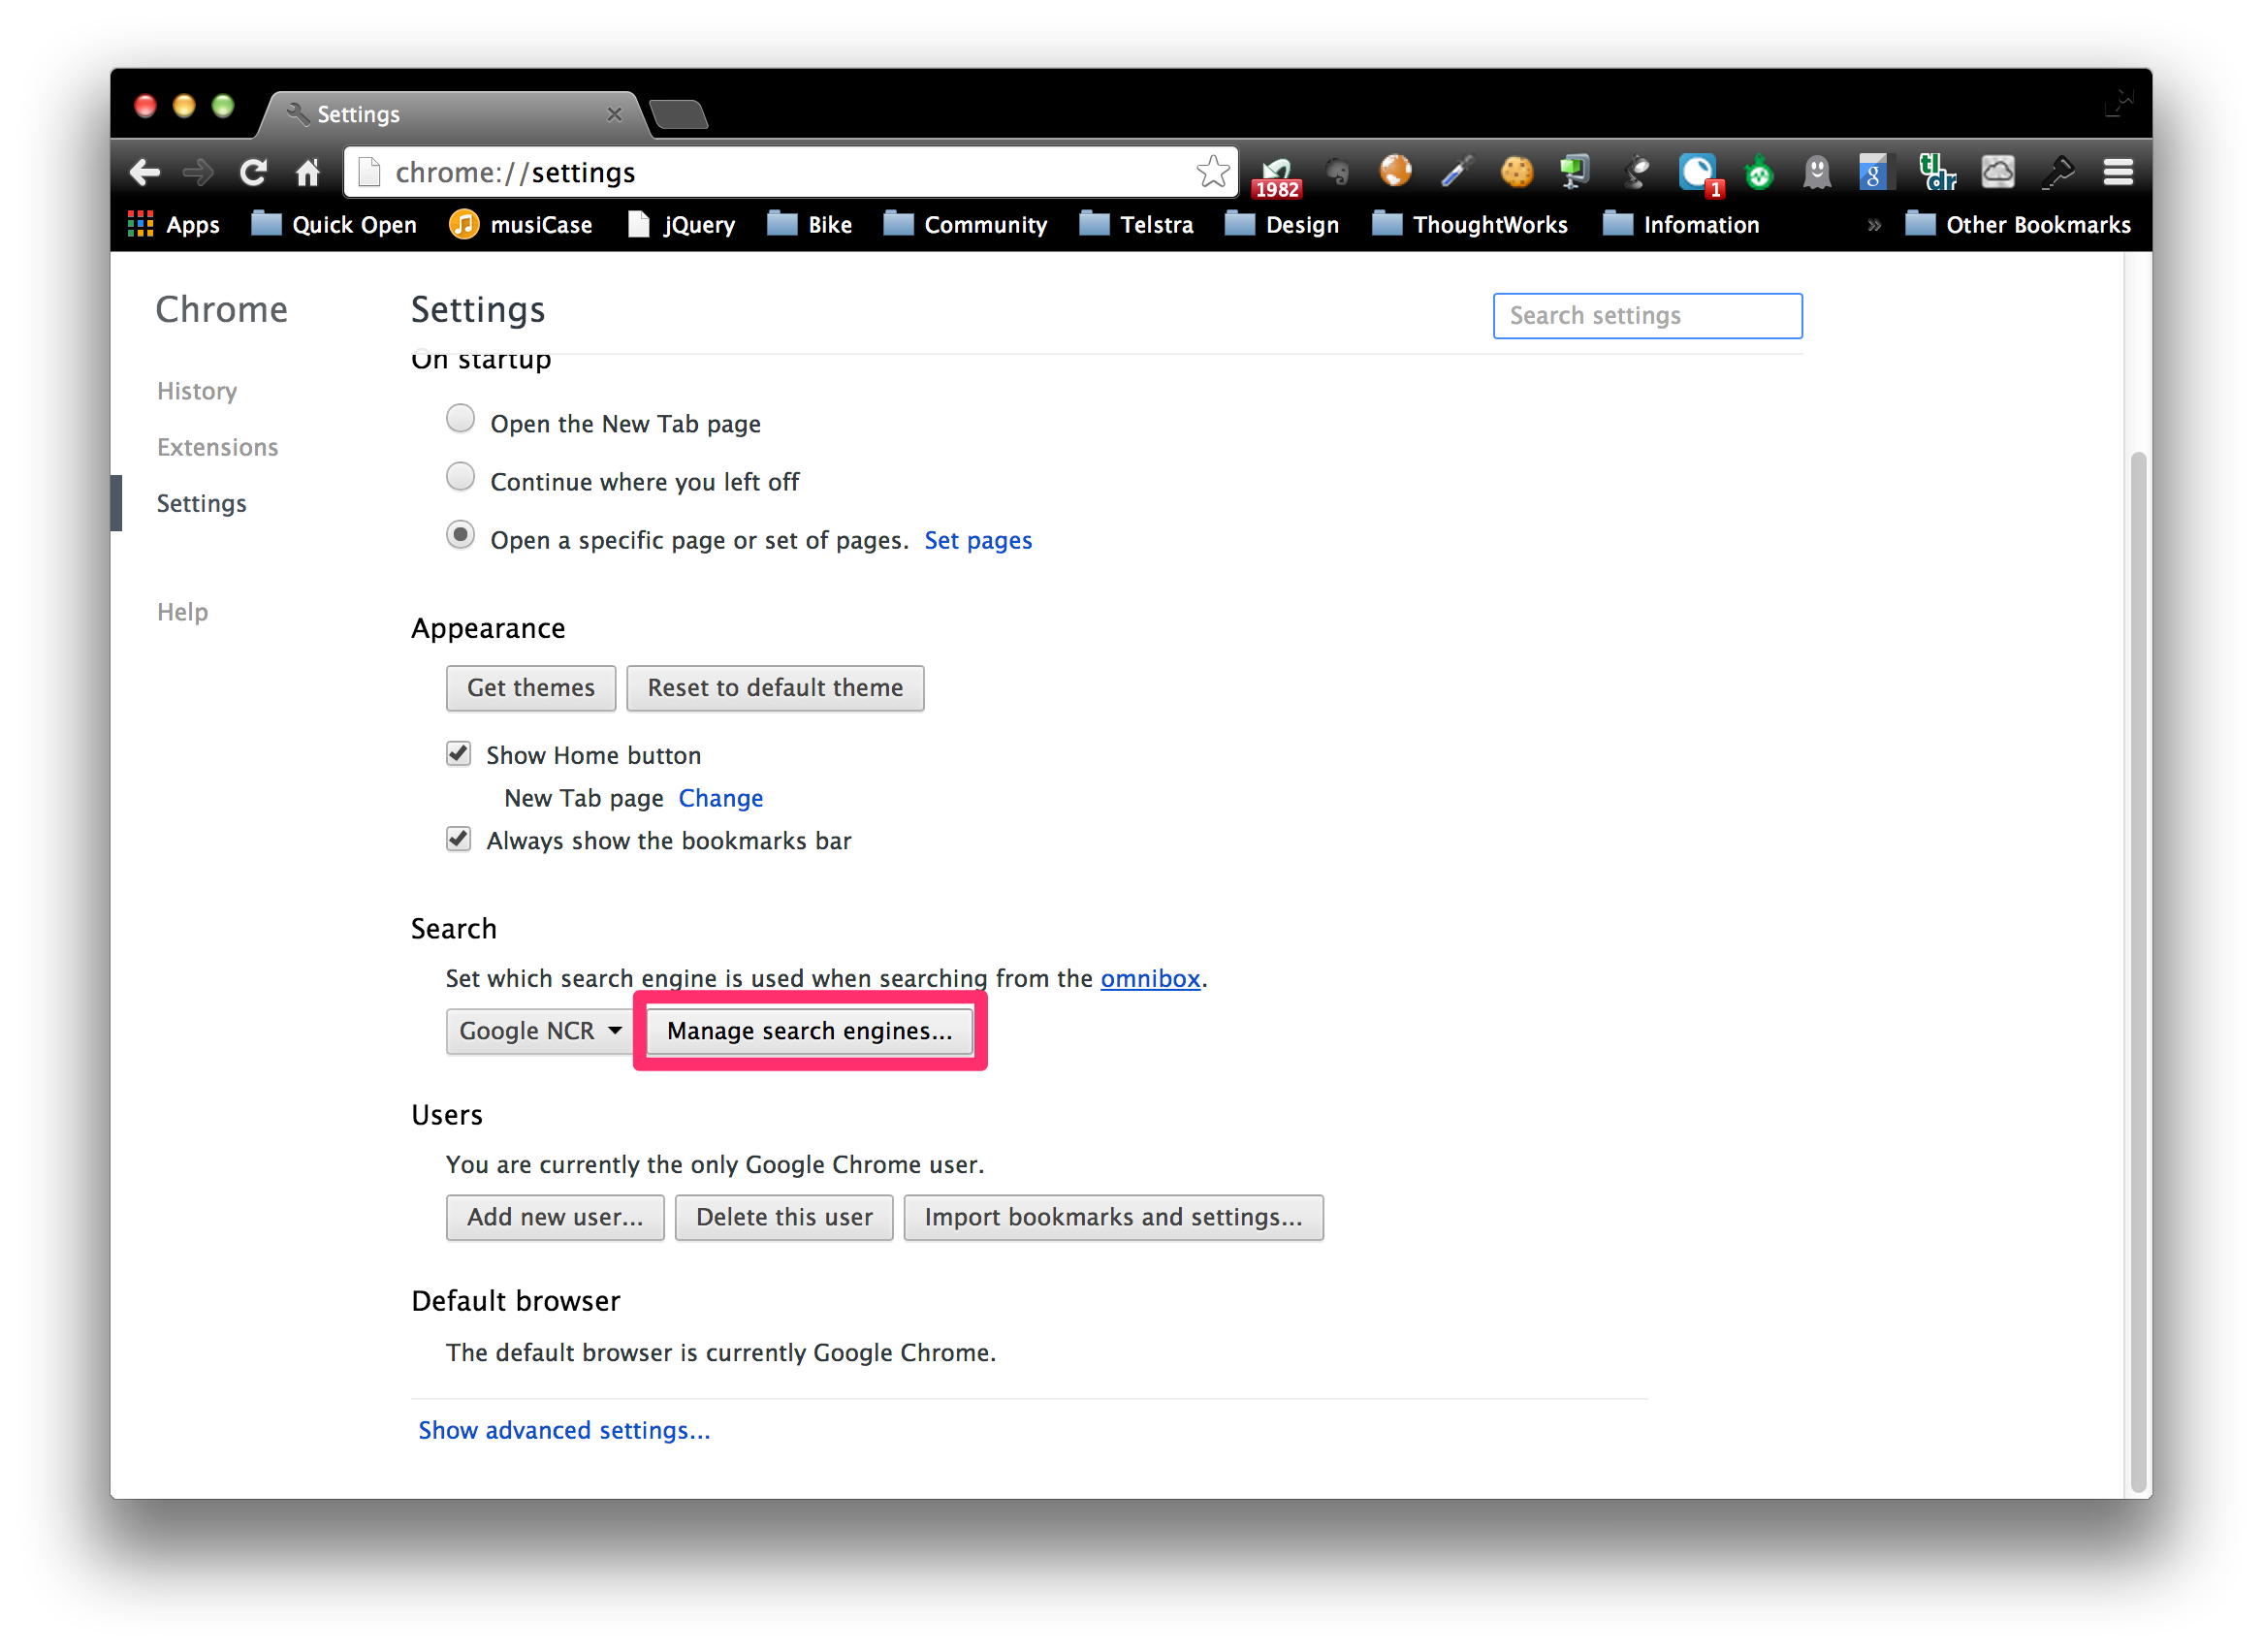
  2. Open url chrome://settings, find Manage search engines.Find Manage search engines
  3. Register new search engine.
    The first box is the display name of item, Mingle, project_name Mingle is recommended The second box is the keyword triggers the search, mingle is recommended. In most cases, you will work with only 1 mingle instance, so it will not cause confusion. But if it does, add more specific keyword to it.
    ** The third box is the url search url, paste the url you just foundRegister mingle

Adjust files encoding in Finder context menu "GB1312 to UTF-8 with 1-click"

One of the most annoying thing of Mac is that encoding, espeically you’re living in a non-Mac world.

Mac uses UTF-8 as the default encoding for text files. But Windows uses local encoding, so it changes according to your OS language. For Chinese users, Windows uses GB2312 as the default encoding.

So usually the movie subtitle files, the song lyrics files, the plain text novel files, the code contains Chinese, which you downloaded form web sites or recieved from others usually cannot be read because of the wrong encoding.

So I really wish to have an item in my finder’s context menu that I can adjust the encoding of selected files with 1-click.

Luckily, with the help of Ruby, Automator workflow and Mac OSX service, it isn’t that hard.

So basically, OSX loads all the workflow files saved in ~/Library/Services/, which is displayed as Context Menu in finder.

To build the service, work through the following steps:

1. To create a new service, just pick Service in Automator’s ‘create new document’ dialog.

2. Set service input as “files and folders from any application”.

3. Run Ruby Script to transcode the files

Add a “Run Shell Script” action to execute the following ruby code, which is used to transcode the files passed to service. (For more detail about how to embed Ruby in workflow, check out Using RVMed Ruby in Mac Automator Workflow )

Make sure the input is passed as arugments to the ruby script.

Transcode the files
1
2
3
4
5
6
7
8
9
10
11
12
13
14
15
16
17
18
19
20
21
22
old_files = []
ARGV.each do |name|
next until File.file? name
backup_name = name + '.old'
File.rename name, backup_name
source = File.open backup_name, 'r:GB2312:UTF-8'
dest = File.open name, 'w'
while line = source.gets
dest.puts line
end
puts name
old_files << backup_name
end
ENV['Transcode_Backup_Files'] = old_files.join('|')

4. Display a growl message when processing is done

5. Prompt user whether to keep the backup files

I use a Ask for confirmation action to ask whether user want to keep the backup files.
The workflow will abort if user clicks “No”, make sure you updated the text on the buttons, and texts are put on right button.

6. Add script to remove backup files

Add another “Run Shell Script” aciton to execute another piece of ruby code.

Remove backup files
1
2
3
4
5
6
7
8
9
if ENV['Transcode_Backup_Files']
ENV['Transcode_Backup_Files'].split('|').each do |file|
File.delete file
end
ENV.delete 'Transcode_Backup_Files'
end

7. Display notification to tell user that backup files has been deleted

TIP: The transcode ruby script requires Ruby 1.9+, but Mac OS X default provides Ruby 1.8.3, which doesn’t support encoding. To interprets workflow embedded code with ruby 1.9+, please refers to Using RVMed Ruby in Mac Automator Workflow

Using RVMed Ruby in Mac Automator Workflow

HINT This content is obsoleted on OSX 10.9 Mavericks

Embed Ruby into Automator Workflow

Automator workflow has the ability to execute ruby code, but it is not that obvious if you doesn’t know it.

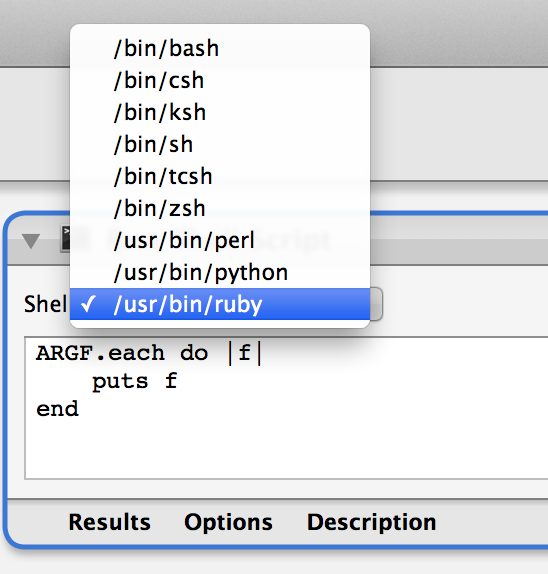
To embed ruby code into workflow, you need to create a “Run Shell Script” action first, then choose “/usr/bin/ruby” as the shell. Then the script in the text box will be parsed and executed as ruby code.

Ruby In Automator

So, from now on, you know how to embed ruby into automator workflow.

Use RVM ruby instead of System Ruby

By default, Automator will load system ruby at /usr/bin/ruby, which is ruby v1.8.7 without bundler support. For most ruby developers, they must have installed some kind of ruby version manager, such as RVM or rbenv. As to me, I uses RVM. So I wish I could use RVMed versions of Ruby rather than the system ruby, could be ruby 1.9.3 or even ruby 2.0 with bundler support.

To use the RVMed ruby, I tried several approaches by hacking different configurations or files. And at last, I made it doing this:

RVM provides a ruby executable file at ~/.rvm/bin/ruby. On the other hand, /usr/bin/ruby is actually a symbol link that pointed to ‘/System/Library/Frameworks/Ruby.framework/Versions/Current/usr/bin/ruby’.

So what we need to do is to replace the the symbol link with a new one pointed to ~/.rvm/bin/ruby.

Replace system ruby with RVMed ruby
1
2
3
4
sudo mv /usr/bin/ruby /usr/bin/system_ruby
sudo ln -s /Users/timnew/.rvm/bin/ruby /usr/bin/ruby

(You might need to replace the /Users/timnew/.rvm/bin/ruby with the path to your ruby executable file)

After doing this, done, you have the RVMed ruby in your Automator Workflow.

You can try to excute the following code in Workflow to verify it:

Test Ruby Version
1
puts RUBY_VERSION

If you do it correct, then you should see ‘1.9.3’ or any other version of ruby you have configured.

Mac OS X case-insensitive file system pitfall

I was working on the YouTube video playback feature for LiveHall last night, and have it works successfully on my local devbox, which is running Mac OS X. Then I deployed the code to Heroku, without any regression.

But today morning, when I have the demonstrate the new features, I met server error! It says 1 of the 4 javascripts are missing, so the Jade template failed to render.

This is a very wield issue, then I try the same data on my local dev box once again, and it works perfect! But it does yield error on the production! Then I tried to use heroku toolbelt to run ls command on the production, and I found the there are 4 coffee scripts there.
Then I tried to enforce heroku to redeploy the app by using git push --force, but the issue remains!
Then I even tried to dive into the dependency pacakges connect-assets and snockets, but still found nothing useful.

Same code, same data, but different result! Very odd issue!

After half an hour fighting against the code, I suddenly noticed I the file name is RevealJSPresenter.coffee, whose “S” is capital S! And I reference the file with name #= require ./presenter/RevealJsPresenter, whose ‘s’ is a lowercase ‘s’!

And snockets depends on the OS feature to locate the file. On my local dev environment, I’m using Mac. Although OS X allow user to explicitly format the HFS+ into file name case sensitive mode, but it is case insensitive by default. So snockets can locate the file even the case is wrong.
But once I have deployed to heroku, which, I assume, runs Linux, whose file system is absolutely filename case sensitive. So the snockets won’t be able to locate the file due to the case issue.

To resolve the bug, I renamed my file in RubyMine, then try to commit in terminal.
But when I commit, I met another very interesting issue, that git says there is no file changed, so it refused to commit.
It is still the same issue, due to FS is case insensitive, git cannot detect the renaming.

This problem is more common when coding on Windows, but CI or production runs on Linux. And the very common solution is to pull the code in case sensitive environment, then rename the file and commit it.

But I found another more easier way to do it:

Using git mv in terminal to rename the file, which will enforce git to track the file renaming action.

Or

Most of Git GUIs are able to track file name case changing, so you can try to commit the change with the tool, such as RubyMine or SourceTree.

Multiple Project Summary Reporting Standard - cctray xml feed

CCTray.xml is an RSS-like CI server build status xml feed, which is originally developed for CruiseControl.net.
ThoughtWorks declared it in a standard called “Multiple Project Summary Reporting Standard”, which now have become some kind of unofficial standard of CI server feed that is widely supported by all kind of popular CI servers.

You can find the feed as described below:

And according to cc_dashboard, there are some exceptions that are not included in the document.

  • An additional “Pending” activity
  • An additional “Unknown” status. I’ve seen Unknown reported by CruiseControl.rb when project builds are serialized (“Configuration.serialize_builds = true” set in .cruise/site_config.rb) and one build is waiting for another build to finish. I’ve seen Unknown reported by Hudson when a project is disabled.

The following is a patched version of Multiple Project Summary Reporting Standard.

Multiple Project Summary Reporting Standard

Introduction

Various Continuous Integration monitoring / reporting tools exist. Examples are:

These tools work by polling Continuous Integration servers for summary information and presenting it appropriately to users.

If a Continuous Integration server can offer a standard summary format, and a reporting tool can consume the same, then we get interoperability between reporting tools and CI Servers.

Description

Summary information will be available as a plain XML string retrievable through an http GET request.

The format of the XML will be as follows:

Summary

A single node, the document root, which contains 0 or many node.

Each may have the following attributes:


name description type required
name The name of the project string yes
activity The current state of the project string enum : Sleeping, Building, CheckingModifications
yes
lastBuildStatus A brief description of the last build string enum : Pending, Success, Failure, Exception, Unknown yes
lastBuildLabel A referential name for the last build string no
lastBuildTime When the last build occurred DateTime yes
nextBuildTime When the next build is scheduled to occur (or when the next check to see whether a build should be performed is scheduled to occur) DateTime no
webUrl A URL for where more detail can be found about this project string (URL) yes

Clients that consume this XML should not rely on any optional attribute being present, and should degrade their functionality gracefully.

Example

CCTray.xml Sample
1
2
3
4
5
6
7
8
9
10
11
12
13
14
15
16
17
18
19
<Projects>
<Project
name="SvnTest"
activity="Sleeping"
lastBuildStatus="Exception"
lastBuildLabel="8"
lastBuildTime="2005-09-28T10:30:34.6362160+01:00"
nextBuildTime="2005-10-04T14:31:52.4509248+01:00"
webUrl="http://mrtickle/ccnet/"/>
<Project
name="HelloWorld"
activity="Sleeping"
lastBuildStatus="Success"
lastBuildLabel="13"
lastBuildTime="2005-09-15T17:33:07.6447696+01:00"
nextBuildTime="2005-10-04T14:31:51.7799600+01:00"
webUrl="http://mrtickle/ccnet/"/>
</Projects>

Schema

cctray.xml Schema
1
2
3
4
5
6
7
8
9
10
11
12
13
14
15
16
17
18
19
20
21
22
23
24
25
26
27
28
29
30
31
32
33
34
35
36
37
38
39
<?xml version="1.0" encoding="UTF-8" ?>
<xs:schema elementFormDefault="qualified" xmlns:xs="http://www.w3.org/2001/XMLSchema">
<xs:element name="Projects">
<xs:complexType>
<xs:sequence>
<xs:element name="Project" maxOccurs="unbounded">
<xs:complexType>
<xs:attribute name="name" type="xs:NMTOKEN" use="required" />
<xs:attribute name="activity" use="required">
<xs:simpleType>
<xs:restriction base="xs:NMTOKEN">
<xs:enumeration value="Sleeping" />
<xs:enumeration value="Building" />
<xs:enumeration value="CheckingModifications" />
</xs:restriction>
</xs:simpleType>
</xs:attribute>
<xs:attribute name="lastBuildStatus" use="required">
<xs:simpleType>
<xs:restriction base="xs:NMTOKEN">
<xs:enumeration value="pending"/>
<xs:enumeration value="Exception"/>
<xs:enumeration value="Success"/>
<xs:enumeration value="Failure"/>
<xs:enumeration value="Unknown"/>
</xs:restriction>
</xs:simpleType>
</xs:attribute>
<xs:attribute name="lastBuildLabel" type="xs:NMTOKEN" use="required" />
<xs:attribute name="lastBuildTime" type="xs:dateTime" use="required" />
<xs:attribute name="nextBuildTime" type="xs:dateTime" use="optional" />
<xs:attribute name="webUrl" type="xs:string" use="required" />
</xs:complexType>
</xs:element>
</xs:sequence>
</xs:complexType>
</xs:element>
</xs:schema>